Search the FAQ

Category: Farkles

Everything not really necessary, but nice for comfort, performance or just showing off.

Wheels

Wheels on the 790 Adventure, and Adventure R are all the same. Spoked wheels with aluminum rims, 2.50 × 21″ on the front; 4.50 × 18″ on the rear. Those rims are designed for tubeless tires, with a sealing band on top of the spoke nipples to prevent air from going out.

The 790 Adventure Rally uses DID Dirt Star rims. With slightly narrower rims, 2.15 x 21” on the front and 4.00 x 18” on the rear. Those are not air-proofed at all, these wheels do require the use of tubes…

All models use the same tire sizes, 90/90-21 and 150/70-18.

The good news is that wheels are 100% compatible with 1050/1090/1190/1290 KTM adventure models. The 1090 Adventure R uses exactly the same sizes as the 790 Adventure for example. The cast alloy wheels of a 1050 Adventure (3.0 x 19″ & 4.5 x 17″) will also bolt right on. Even the 1290 SA size (3.50 x 19″ & 5.00 x 17″) fit just fine, but they are probably over the top for the little 790.

The wheels from the 950/990 Adventure will not fit as is however. The rear wheel will, but the front wheel needs custom hardware to offset the brake disks.

Of course, if you source from another bike, the disks and sprocket may be different, they will need to be swapped for 790 compatible ones.

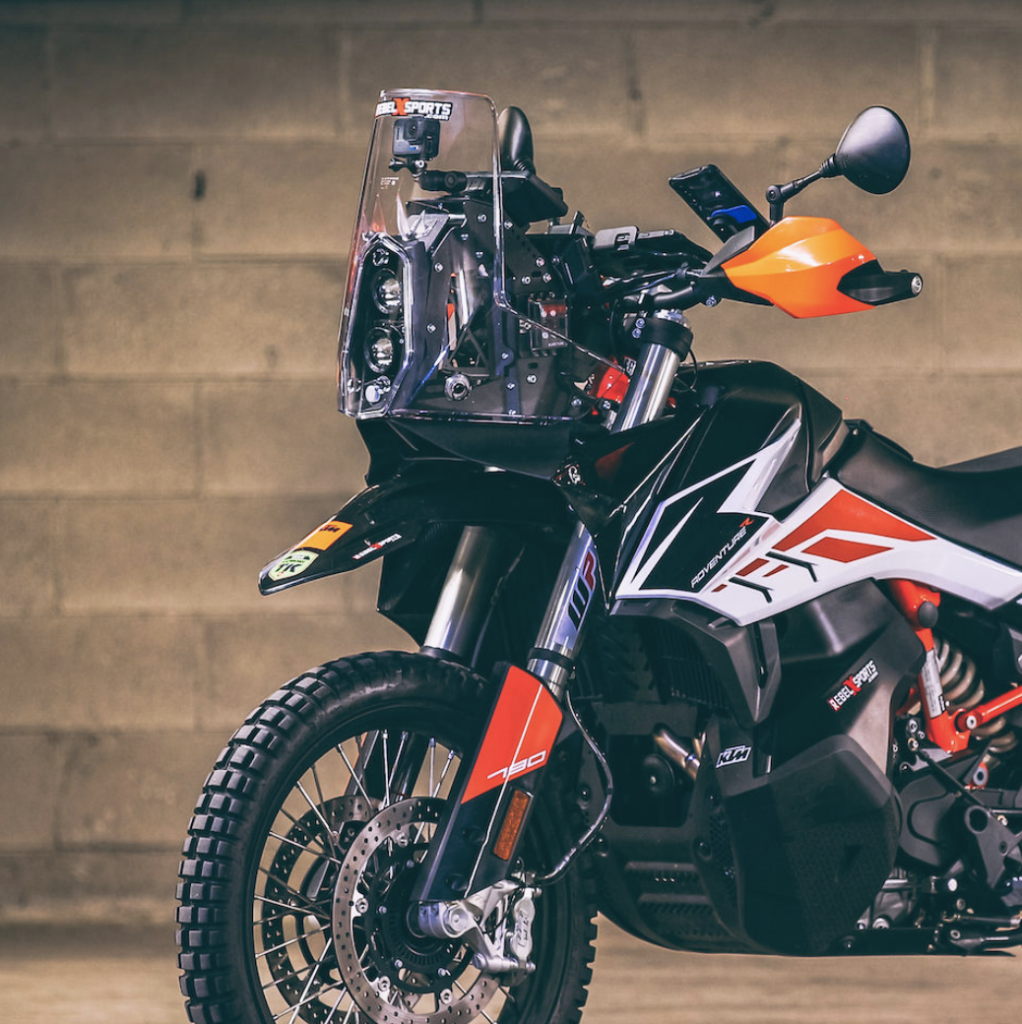
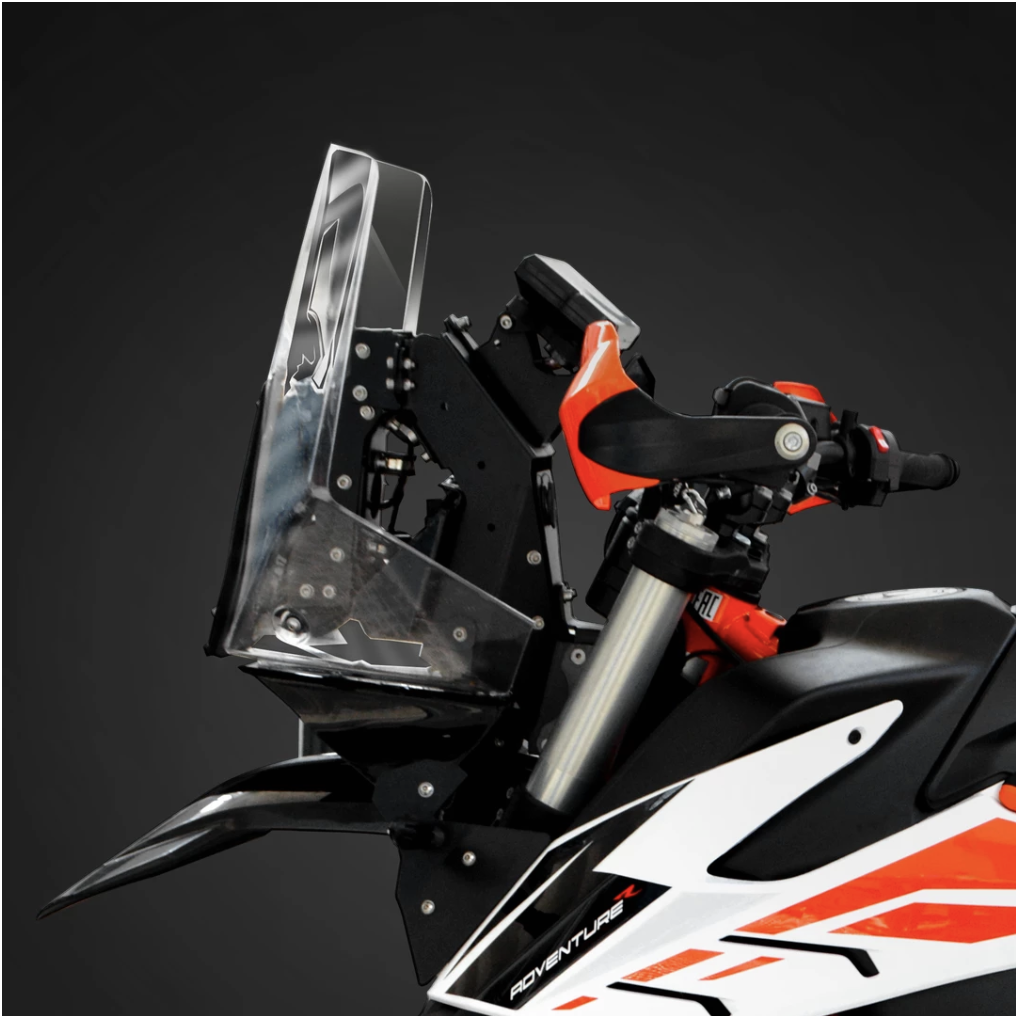
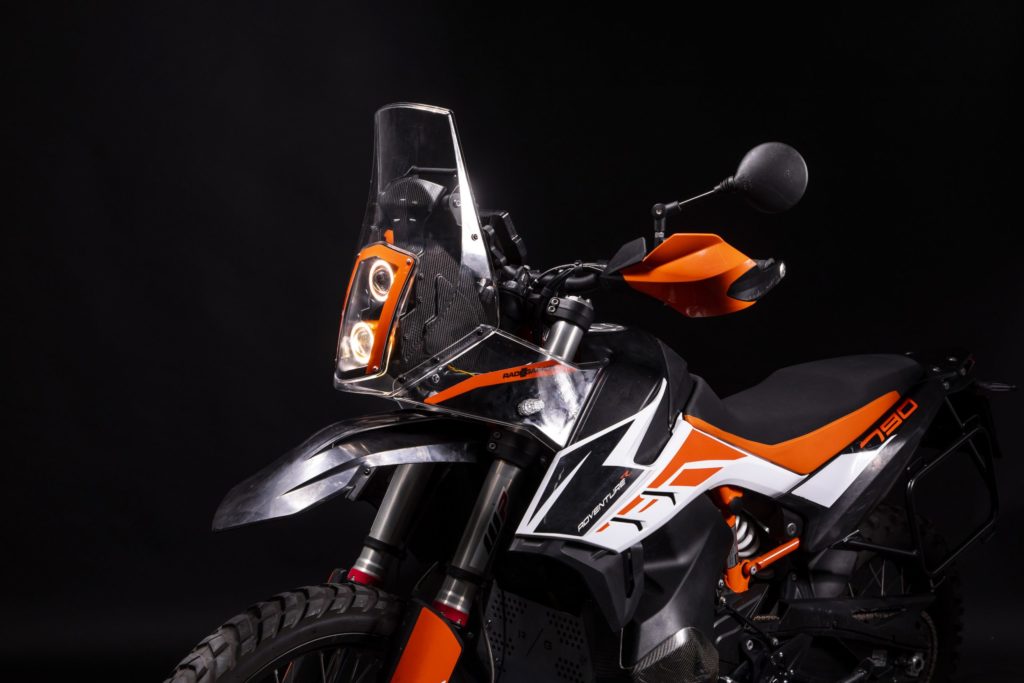
There are also a number of third parties building wheels either from scratch or by relacing a new a rim of your choice on your existing hub.

Be aware of a few caveats if you change rim diameter (to 17″/19″ for example):

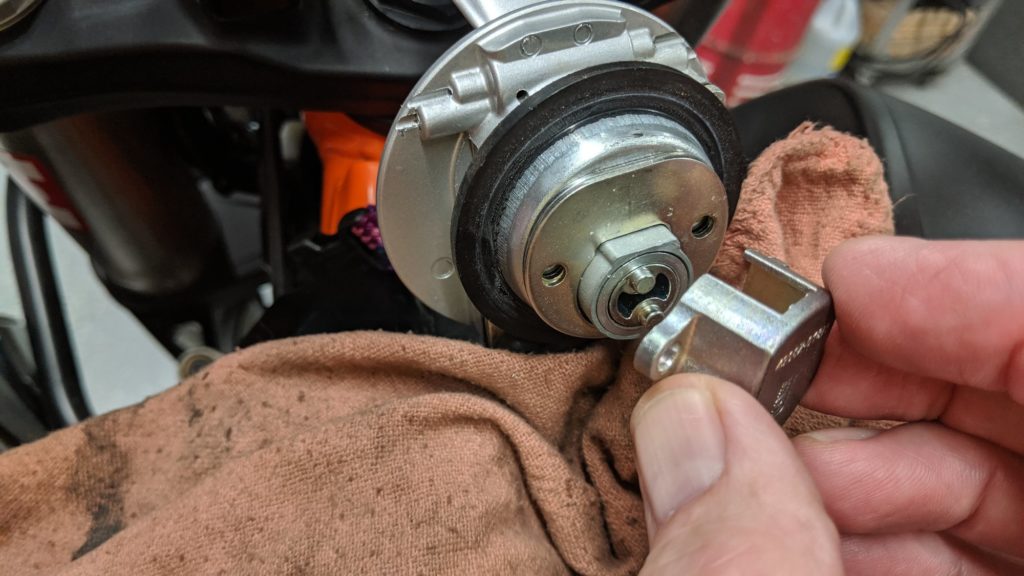
  • The electronic reads the bike speed via the slotted rings on the wheels. And the different sizes will make your speedo wrong, and may also confuse the various three letter acronyms (ABS, MTC,…). Ian Chappel in the UK used to make custom rings to fix this, but he passed away (RIP), and right now there are no other known sources for these.
  • Changing the rear wheel to a smaller one changes the gearing, and will make your bike slower for the same RPM on the same gear. To fix this for a 18″ to 17″ conversion, just change the rear sprocket from the original 45 teeth to 43 or 42 (43 is probably the closest gear wise, but 42 is a more common size and easier to find). To help you inmate Gaulin on ADVRider developed a gearing calculator spreadsheet, or you can use the excellent gearingcommander.

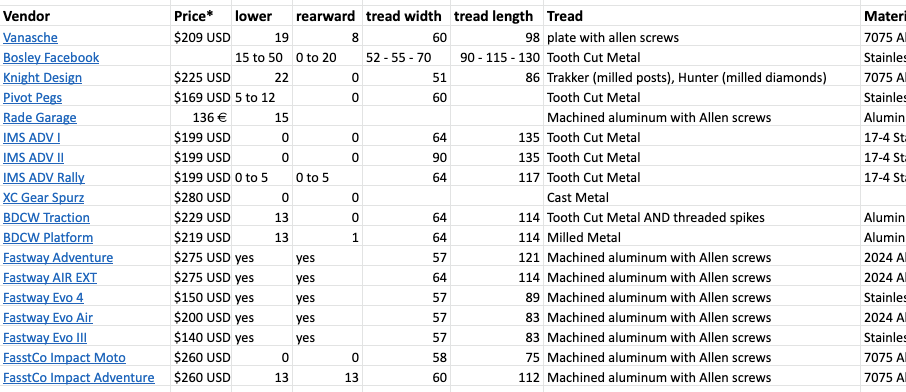
Common wheel upgrades:

  • Upgrade a S or an R to the narrower rims of the Rally.
  • Invest in a set of road wheels, 17″ on the back, 19″ on the front, for better road manner and moving the seat down a little bit.
  • Go supermoto, with two 17″ wheels, and go hooligan.

Examples:

3.50 x 19″ & 5.00 x 17″ from a 1190S on a 790 S (source)
3.50×17″ & 5.0×17″ on a 790R. Photo by djauofd, Wheels by warp9 racing.
My own bike, with wheels sourced from a 1050 Adventure. Details.

Additional front end support

There is an option to beef up the existing front end of the bike (lights, instrument cluster, GPS): everything is hold in place by four screws and the lower metallic support. There are some (very rare!) case of the posts on the frame breaking away during a fall.

TripleClampMoto developed a contraption to add more support to the front end posts on the frame (Price is moving often. I’ve seen as low as €62, and as high as €100. Check the site). In stainless, either just brushed or powder coated.

Camel ADV has a similar part as well ($80). In silver of black. Stainless powder coated.

And Rottweiler joined the fray with their own interpretation of the same device ($80): This one only braces the top mounts (as the bottom ones sees compression instead of forward tension for the top one?). They claim it’s a better design than a piece of sheet metal.

Annnd another one, this one from Spain. In orange or black, to color coordinate with the frame of the S or the R… Very simple and the cheapest of the lot, at €55.

Navigation towers

There are options to replace the front end of the bike with a rally oriented tower, mostly to add space for compass, log, GPS and everything you could imagine bolting to the front of the bike. Those are not cheap, but they are very versatile. And might be worth considering if you have wrecked the original front-end in a crash or had one of the front-end post break (very rare).

All these towers are removing the original headlights and replacing them with new lights. This removal is detected by the bike, and the instrument cluster will throw an “HLU Failure error” as well as disabling the high beam indicator. Only the Aurora provides an electronic doohickey to properly inject itself in the CANBus for a seamless integration. Note that US Spec turn signals will not fit behind any of those masks, EU ones might as they are smaller, but none are visible on promo pictures.

Aurora Rally (€2140) made a very well finished product, with a bunch of possible options to finish it off, and even the possibility of relocating the instrument cluster on the handlebar.

Aurora Rally tower

Rebel X-Sport (€2800 direct or $2950 from Rotweiller performance) replaces the whole front end, with new lights, new supports, everything. See the video to see how involved the install is.

Rebel X-Sport tower

Another vendor is MST SpecialThings (€1230), with a similar tower, Hella lights and space to put quite a lot of hardware.

MST Tower

And Finally Rade/Garage is also offering a rally tower (€1390).

Replacement footpegs

There are a lot of potential replacement footpegs you can use on the 790 Adventure. Bigger, lower, moved back, in aluminium or stainless steel, the choices are multiple.

advrider inmate Kubcat collated all the lowered footpegs he could find and put them all in a spreadsheet. Which is now available for you, until we figure out how to format this in a better form. Maybe.

Lots of info on the spreadsheet.

Steering damper

The 790 adventure come standard with a simple steering damper. It’s fine for the road, but for serious off road junkies it is not enough. There are other options out there that allow for more fine tuning (aka, dampening when going away from center, but not the other way, etc). There is a hole with a plastic plug right under the handlebar just for that purpose.

All those dampeners are going under the handlebar, this means that their mounting kits are also raising the handlebar and probably moving it forward at the same time. Keep an eye on handguard, as moving the bar forward may cause them to hit the instrument panel…

Also, if you fit one of those you need to remove the original dampener.

See also this thread on advrider.

Hack the original

The stock steering damper can be upgraded by changing out the stock lightweight oil for 10 or 15 weight fork oil. There are a few YouTube video showing the process. This make it harder to move the handlebar in all directions. Ok for road usage, probably not ideal off road.

For road only usage, Hyperpro offers a dampener (In multiple colors!) which can be adjusted in resistance as a drop-in replacement.

Scott’s damper

The most talked about, and a well proven solution on a number of bikes. With slow and high speed separate circuits, and in business since forever. $660 for the device and a mounting kit specific for the 790. The mounting kit is massive as it also adds rubber damping to the handlebar itself.

There are two versions of the Scott damper, a road version (with a R stamped on the body) and an off road version. You probably want the off-road version.

Scott’s damper with Scott’s mount

A simpler, lighter and cheaper mount is available from TripleClamp Moto for £160, or £475 with the device in the UK, $170 in the US, and €195 in the EU (prices are indicative, visit the site for exact price).

GPR damper

Simpler solution, with only one simple button, this damper will not protect you as well against hitting a rock a speed as it lacks the high speed circuit of the Scott’s. But still, it probably does most of the job, releases when hitting a 15º angle. $525 with mounting kit.

MSC Damper

From Australia, another simple damper with one button and a mounting kit. AU$645 without shipping.

XRC damper

Chris Birch’s own, so you’ve seen this device in multiple videos already. XRC is a NewZealand company. Available online here ($NZD980, aka around $570), ships worldwide (not sure about the post specific to the 790).

More pictures on advriders.

Brake/Clutch controls

Rear Brake

You may have missed it int he manual, but the rnd of the brake pedal is reversible. The way it come from the factory is better if you mostly ride sitting down. On the other hand, if your riding is mostly done standing up on the pegs, you should reverse the brake pedal for better accessibility.

An option to have both modes in one pedal is a part from AltRider ($91) allowing to have two separate platforms next to each other for reachability in all cases.

Vanasche motorsport makes a replacement for the lever and various choices of brake pedal pads to go along with it (lever €126, footpads around €30/€35 depending on style)

Another option is the cleanspeed brake pedal ($150)

Handlebar controls

If you’re like me, brake and clutch levers are consumable. KTM clutch (p/n 63502040000, €60) and brake (p/n 63513002044, €55) levers are ok, but better controls do exists.

Some people suffered catastrophic failure of the front brake with a third party lever. Check the fitment of the rod on the lever once installed, there must be freeplay and the rod must rest in the center of the hole.

Warning when installing the levers: the pin holding them are not the same on the right and on the left. On the brake side the pin (p/n 64113006000) screws in the front master cylinder housing and is also locked with a lock nut. On the clutch side the pin (p/n 64102038000) is only retained by lock nut, it doesn’t screw into the body. And yes, the smooth top are just bit of plastic to prevent water pooling inside the hex recess, and those plastic bits are not shown in the part list (don’t lose them!).

Raximo makes short (€100/pair) and long (€120/pair) replacement levers in aluminium with a large choice of colors. I’m sure you can select more tasteful colors than the ones below:

Watch out for the Chinese knock off on ebay or other. People have ordered parts and they never shipped, and some received 790 Duke parts (they are different, the Duke has a radial master cylinder).

If you just want a shorter lever and not afraid of some DIY, garageengineer on ADVRider posted a how to to shorten the stock clutch lever.

Hacked short clutch lever

For fans of short levers the wild@heart levers have a small cult following, and are described as the best short levers ever. Molded for two fingers, with a long end stop (3000 SA rands, around 145€/$170). advrider thread.

wild@heart

Handlebar clutch switch

There are a few reports of the handlebar switch failing, and the only notice is the Quickshifter no longer working, or the bike refusing to start when a gear is engaged. The replacement switch come with a cable long enough to get into the headlight, but you could just change the switch as it cost next to nothing at your nearest electronic store. See this how-to for example.

Clutch arm

A shorter clutch lever, activated with two fingers, is harder to pull than a full sized one of course. Short or long, Camel ADV made a small little gadget making the clutch course longer and diminishing the effort at the lever. It’s called the One Finger Clutch.

Someone on facebook made another longer clutch extender, no idea of availability or cost:

Clutch hydraulic conversion

Hydraulic conversions for the clutch are available as well, Magura makes a conversion kit ($330 or so), available at your nearest Magura distributor (Rottweiler Performance or magurausa-shop.com or touratech for example). Touratech made a video describing the install.

Fuel cap hack

It is annoying to not being able to click the fuel cap back in place, you need to use the key to open and to close the cap. For people with a Scott Damper in place this is highly annoying as the cap is hinged forward: you need to use the key to open the cap, remove the key so it doesn’t hit the damper, open fully, fill the tank and then put the key back in the lock to close the cap.

One solution is to install the KTM screw fuel cap (P/N 63507908044), but this means the tank is no longer locked (and the cap is not attached to the bike). Or get one from a powercell, CJ Design or slingshot racing.

KTM screw fuel cap (P/N 63507908044)

An excellent solution is a hack that allows for closing the fuel cap by just pressing on it, no key necessary. The key is still required to open the cap, but you can remove it right away as you don’t need it to close.

First you need to take out the 2 Phillips screws to remove the cover over the latch pawl: watch out the spring and pawl will probably go flying, as they did on this pic. This can be done on the bike, but make sure you cover and protect the hole so nothing can fell in the fuel tank. An alternative is to first remove the assembly from the bike.

Removing the cover

When you have retrieved the pawl and spring, take the pawl and mark the black area, which will have to be removed to allow the pawl to move when the key is removed:

Marked area to remove

Drill, grind, file with your favorite tools (drilling first to the floor, then dremel to finish seems the easiest way to do so) until you get to this result:

Expected result

You then reassemble the lock by carefully maintaining the spring and pawl in place while you slid and screw the cover back on top.

[This is all a copy of the AdvRonski hard work on AdvRider.com. All credits to him for the idea, the realisation and the photos, all on this post. And to Braaap! who followed the instructions successfully and encouraged me to put this in the FAQ]

Lift

To fit a lift you need to install pools. Spools threads are M10 x 1.5 pitch (It’s called coarse metric). This is exactly the same as the 950 Adventure.

<expand with lift choices?>

Next Page »