For other supports, see GPS mounts.
I designed two GPS support. The first version was very simple and only need drilling to set in place. But it failed once, and once is one too many. Please stop using that mount or at a minimum use a tether.
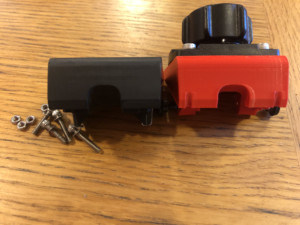
The second version is more robust, uses threaded inserts to keep thing in place. But it requires more DIY work.
All my designs are free, I provide the STL ready to print and also the OpenSCAD file used to create it, allowing you to modify the design if you wish. OpenSCAD is free and can be installed on any computer.
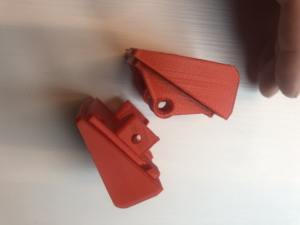
Original simple version
The files are still available on Thingiverse. If you print or have printed this design be aware that the tabs holding the mount to the bike can break. At a minimum please use a tether (any kind of line preventing your GPS to fall if the tabs break).
Version with inserts
This version is sturdier, but requires some manual labor once the part is printed. So first you print the part using your favorite techniques. The STL is also available on thingiverse. Note that for extrusion printing the part will need supports for all the holes.
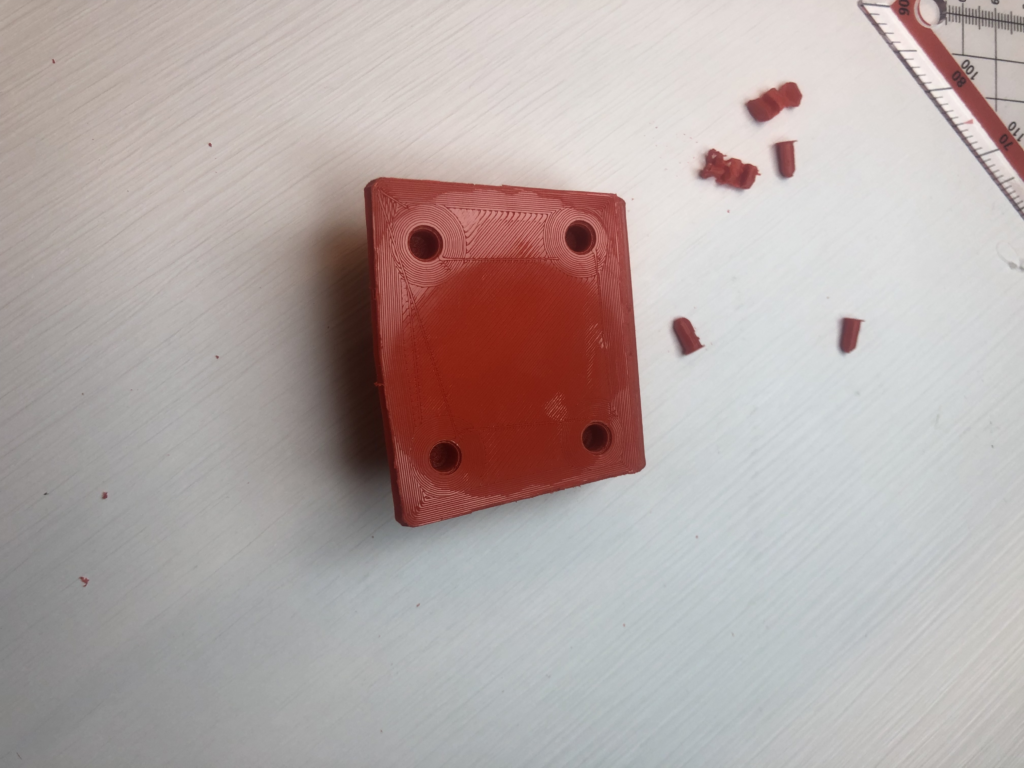
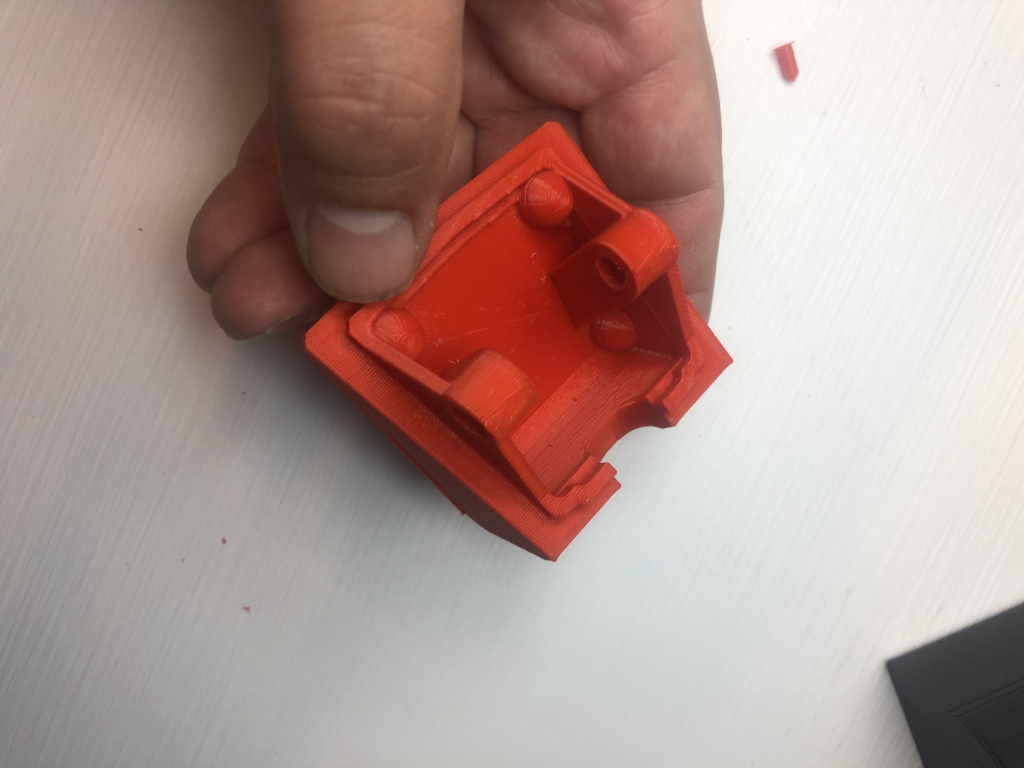
Then you need brass inserts and fit them. I found mine on amazon, but those are very easy to source. the part is designed for two type of inserts:
- Two M5x10x7 to insert in the holes connecting to the bike
- Four M4x10x6 for the AMPS pattern
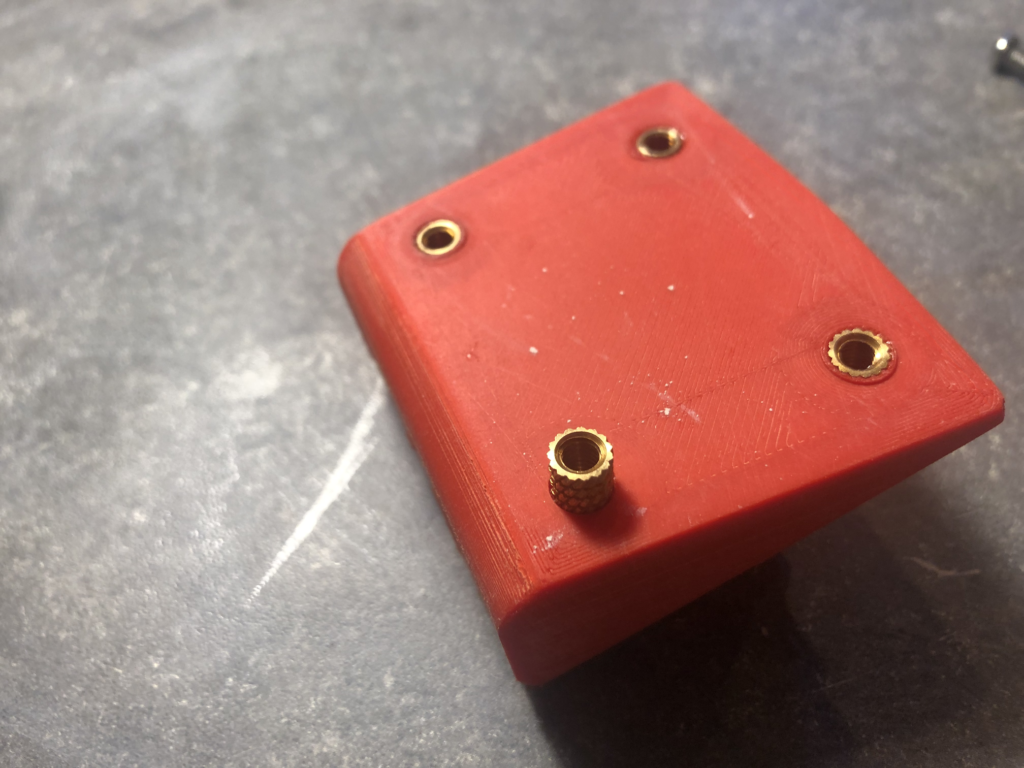
To insert them put them in place in the entrance of the hole (there is a lip for this purpose in the print) then use a soldering iron to make it hot and let it sink in the plastic by using just the weight of the soldering iron, don’t push! When it is getting very close to its final position remove the soldering iron, flip the part and press it against something flat. this video should make this clearer:
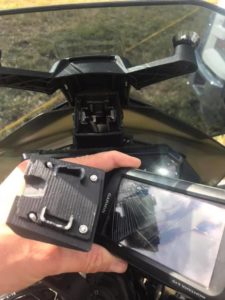
Once the inserts are installed, putting it on the bike is trivial. Bolt it on. Then use 4mm screws to attach your favorite device.