Original Grip removal
On the left side roll the factory rubber grip back: on the bottom there is a set screw. Remove and slide the entire grip off.
For the right side remove the throttle tube system from the bike by unscrewing the 2 Phillips screws from the throttle sensor/housing. The throttle tube slides right off.

Hiden screw to remove the left side grip 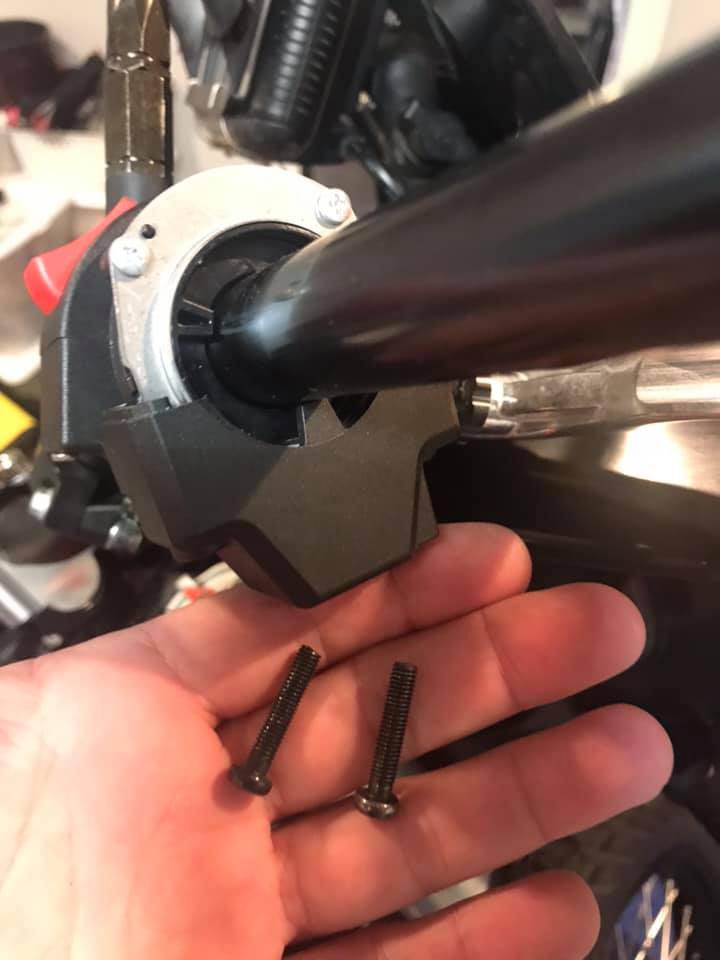
Screws to remove the throttle tube
KTM easy to install option
(P/n is 64112964044), cost about £145, with a separate non-integrated controller.
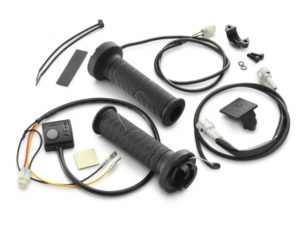
The big advantage of the KTM part is the simplicity of the throttle install as the grips are designed to fit in place of the existing parts: reverse the steps for removing the grips to install the heated one, it’s dead easy.
The rest of the install is simple: install the controller, wire it to the ACC power in the headlight.
Despite the easy install the result of installing the KTM grips is not well integrated with the bike, with an ugly controller which resets every time the ignition is turned off. .
Third party install
You might want to consider non KTM options, and go with the grips you like. Below you can find the steps to install the Koso Apollo grips (also known as Tecnoglobe Gold) which have an integrated controller in the left grip. Make sure to get the 130mm version.
There is discussion as the exact diameter of those grips once installed. The two installs used to write this FAQ entry disagree on the sizes! One states that they are slimmer than the original grip. The other claims that the same grips are thicker! I guess more that one versions of those grips exists, hence the discrepancy?
Below are the pics I took on my bike, on usage I don’t feel the difference.:
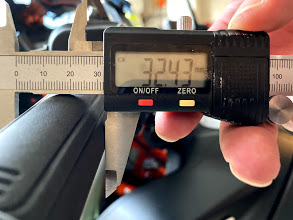
Tecnoglobe gold, 32.4mm 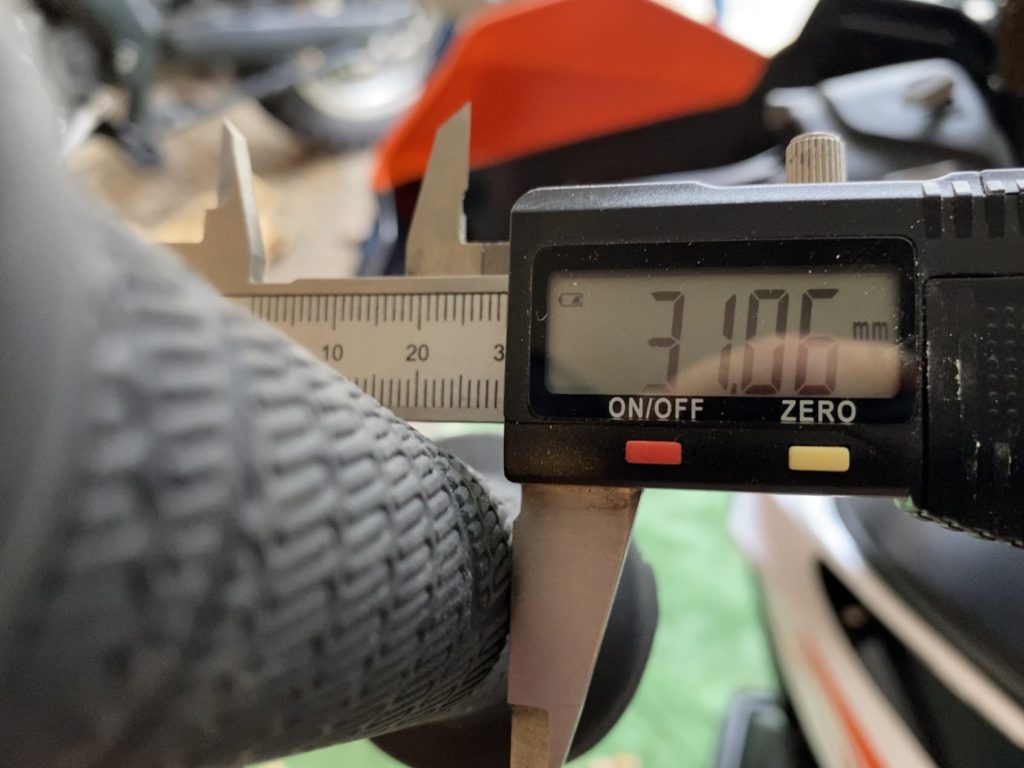
Original grips, 31mm
On the left side, install is dead easy: slide the new grip in place, you’re done.
The difficulty of the install is all due to the throttle tube. It is not available as a separate part from KTM, so you need to figure a way to unglue the rubber from the plastic tube and then file it clean. There is however a third party aluminium throttle tube available (Also at Slavens Racing, $80). But it needs some filing done to grind the first ridge so the 130mm slid all the way to the end.

To retrieve the throttle tube one way is to scrap the grip off with a blade. It’s long and dirty, but works:
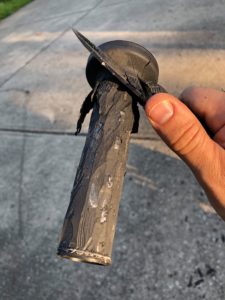
Another option is to make a slit on the whole length of the rubber and skin it off, way cleaner, but it’s difficult not to score the plastic tube.
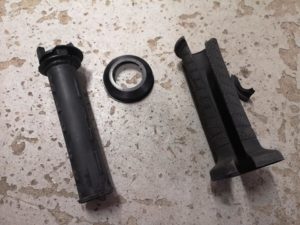
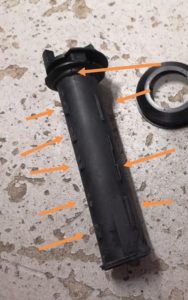
Once the rubber is removed from the tube, you need to remove the tabs there with a blade as they will prevent the new rubber to slip in place. They are pointed out in this picture. Note the inner hump next to the sensor housing: removing it makes for a snug fit without a strange gap between the housing and the grip. The fit is PERFECT but you only have one try since the fit is so tight.
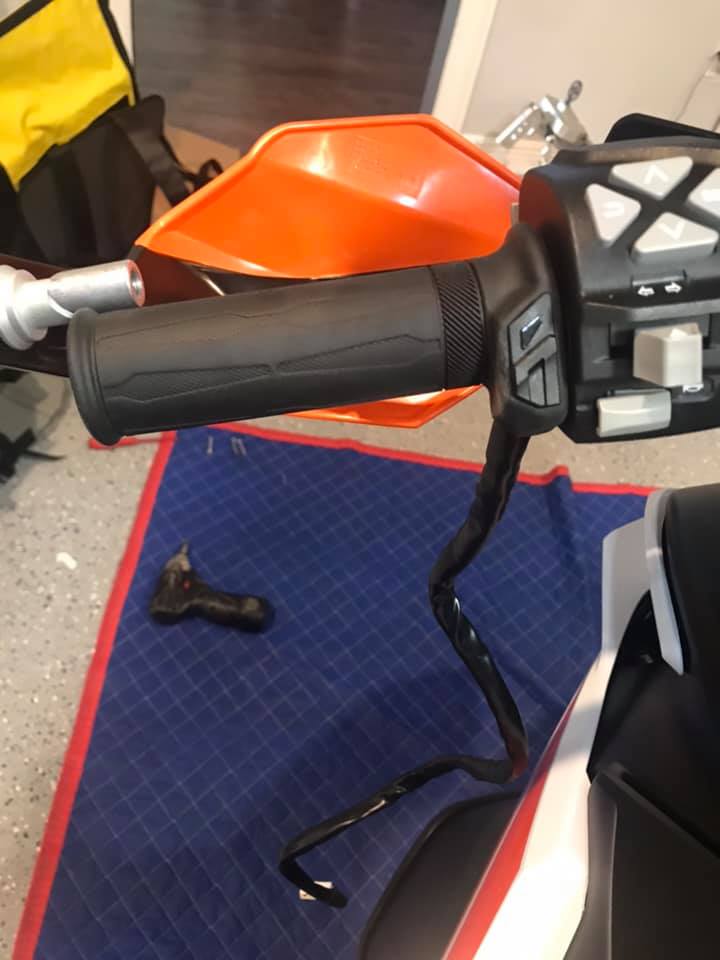
Once the tube is clean, put the new grips on. On the throttle side pay attention to the position of the wire on the throttle tube as to not limit the range of motion. Check 3 times before doing it.
Left grip in place 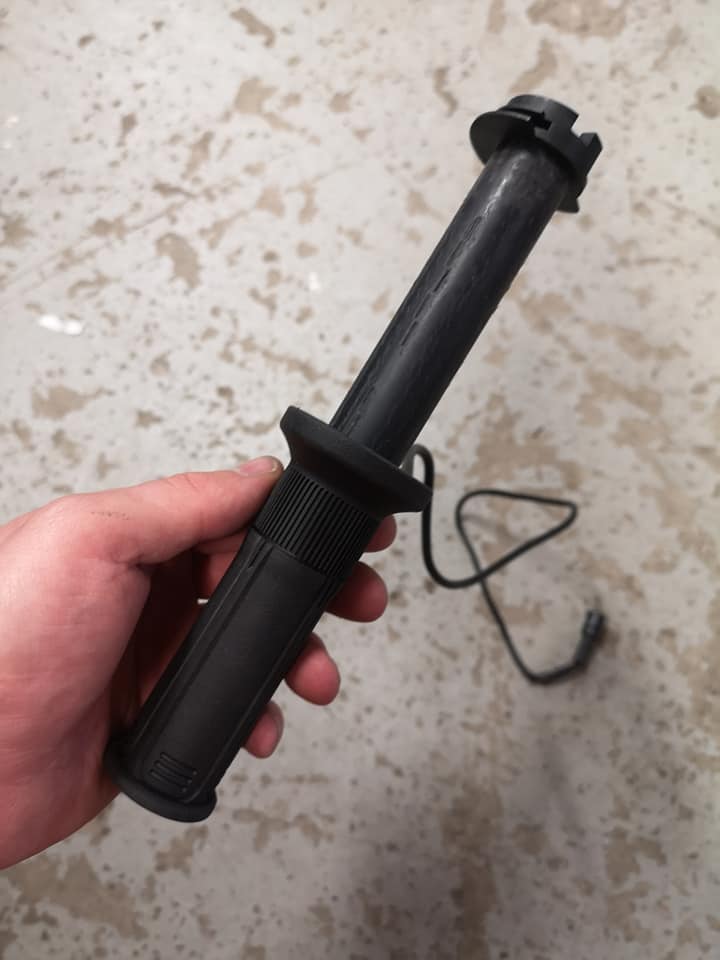
Mounting the right grip 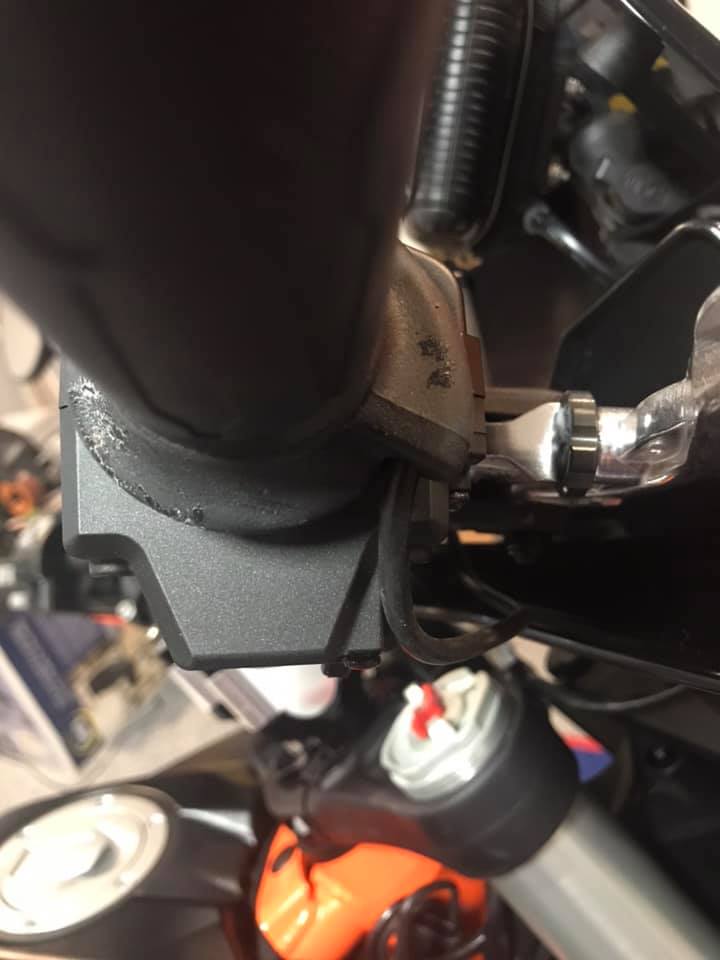
Installed right grip rotated past 90º showing rotation
The rest is easier, just decide if you want to connect to the accessory connector under the seat or in the headlight. The headlight is closer, and easy to open despite the numerous screws. Make sure to fix all the wires and the small controller to not be in the way of any moving parts.
See the entry on power to locate the accessory connectors.
Many thanks to Rickard Holtemark and Warren Vincent Granier on FB for the reports and the photos in this article.