There are reports of cold start issues. The engine starts, but stalls right away, requiring multiple tries to start and hold idle.
Before looking at anything else, try following this foolproof start procedure:
Make sure the kill switch is in the neutral position (Better, when you stop the engine with the kill switch, train yourself to always put it back in the neutral position right away);
Put your key in, turn the power on;
Listen to the fuel pump building pressure in the circuit. Wait until it stops. Note that this priming will not happen if the kill switch is engaged. The manual recommend waiting until the instrument panel starts, which takes roughly the same time as the priming;
Don’t touch the throttle;
Tap the start button. Don’t keep it pressed until the engine fires, just give it a tap and the engine will start by itself.
If this doesn’t start the engine every time, or if the engine stalls right away, check your fuel filter for contamination and the pressure at the fuel pump (or ask your dealer to do it). Note: Filters are black when wet, white when dry: don’t assume a dark filter is a dirty one.
It appears also that the fuel quality has an impact on the self learning the bike does. If you usually run with a type of fuel and you switch to something lower or higher octane, it may trigger this multiple start issue.
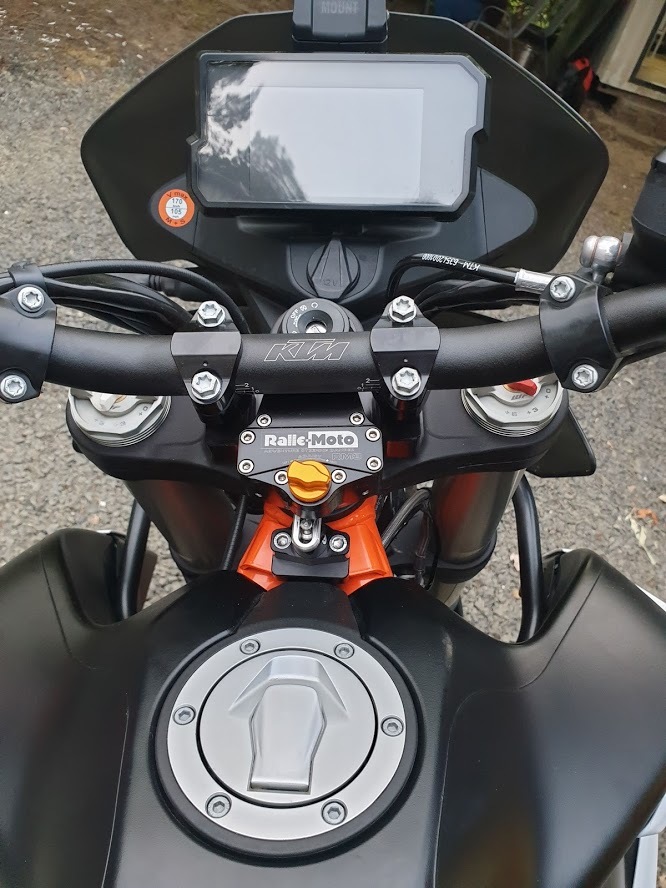
The 790 adventure come standard with a simple steering damper. It’s fine for the road, but for serious off road junkies it is not enough. There are other options out there that allow for more fine tuning (aka, dampening when going away from center, but not the other way, etc). There is a hole with a plastic plug right under the handlebar just for that purpose.
All those dampeners are going under the handlebar, this means that their mounting kits are also raising the handlebar and probably moving it forward at the same time. Keep an eye on handguard, as moving the bar forward may cause them to hit the instrument panel…
Also, if you fit one of those you need to remove the original dampener.
The stock steering damper can be upgraded by changing out the stock lightweight oil for 10 or 15 weight fork oil. There are a few YouTube video showing the process. This make it harder to move the handlebar in all directions. Ok for road usage, probably not ideal off road.
For road only usage, Hyperpro offers a dampener (In multiple colors!) which can be adjusted in resistance as a drop-in replacement.
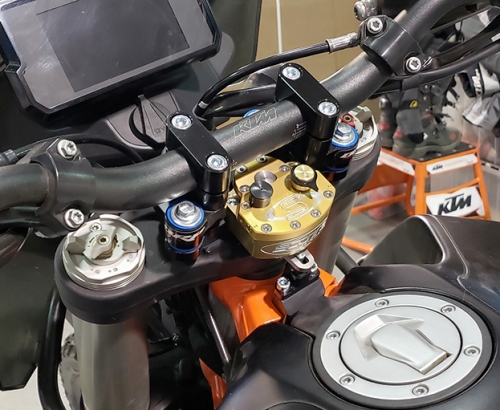
Scott’s damper
The most talked about, and a well proven solution on a number of bikes. With slow and high speed separate circuits, and in business since forever. $660 for the device and a mounting kit specific for the 790. The mounting kit is massive as it also adds rubber damping to the handlebar itself.
There are two versions of the Scott damper, a road version (with a R stamped on the body) and an off road version. You probably want the off-road version.
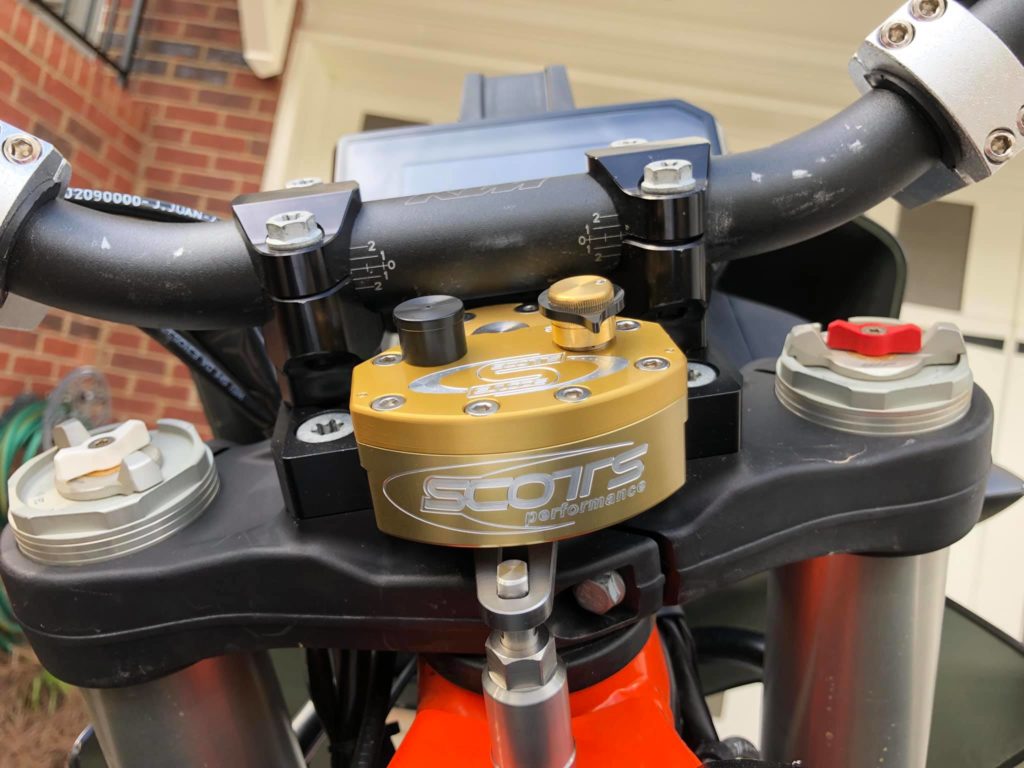
Scott’s damper with Scott’s mount
A simpler, lighter and cheaper mount is available from TripleClamp Moto for £160, or £475 with the device in the UK, $170 in the US, and €195 in the EU (prices are indicative, visit the site for exact price).
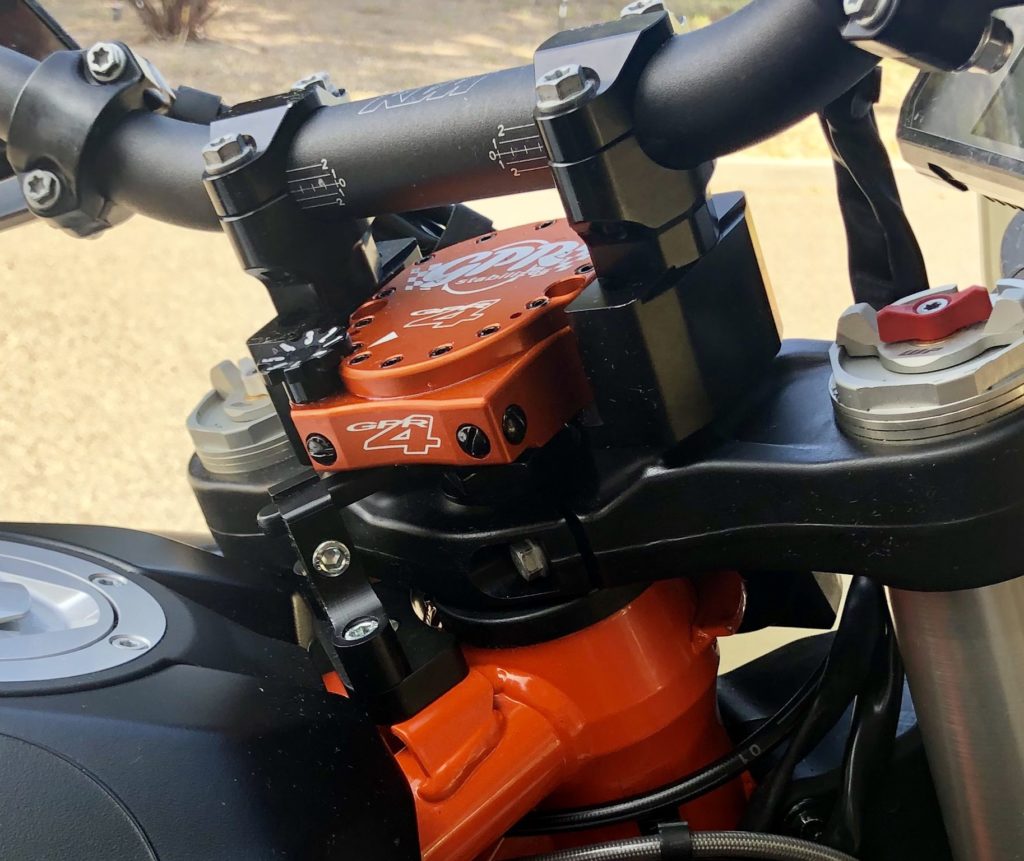
GPR damper
Simpler solution, with only one simple button, this damper will not protect you as well against hitting a rock a speed as it lacks the high speed circuit of the Scott’s. But still, it probably does most of the job, releases when hitting a 15º angle. $525 with mounting kit.
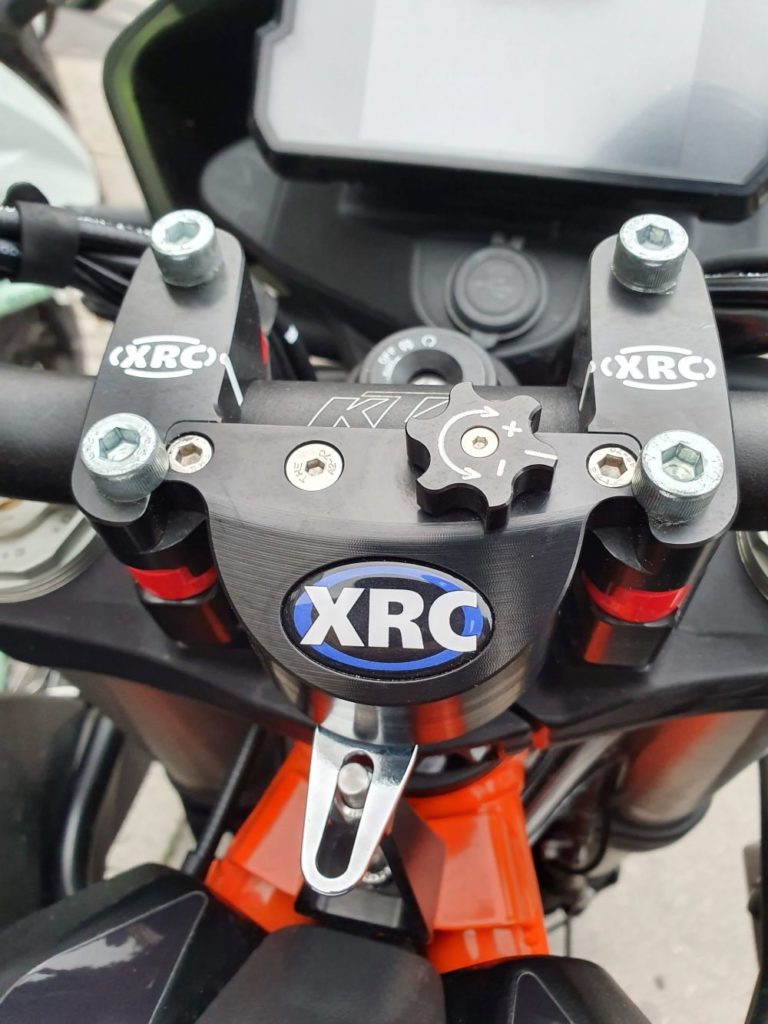
Chris Birch’s own, so you’ve seen this device in multiple videos already. XRC is a NewZealand company. Available online here ($NZD980, aka around $570), ships worldwide (not sure about the post specific to the 790).
You may have missed it int he manual, but the rnd of the brake pedal is reversible. The way it come from the factory is better if you mostly ride sitting down. On the other hand, if your riding is mostly done standing up on the pegs, you should reverse the brake pedal for better accessibility.
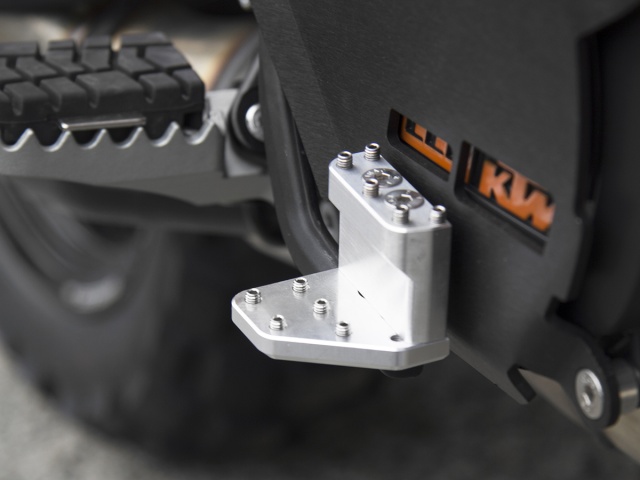
An option to have both modes in one pedal is a part from AltRider ($91) allowing to have two separate platforms next to each other for reachability in all cases.
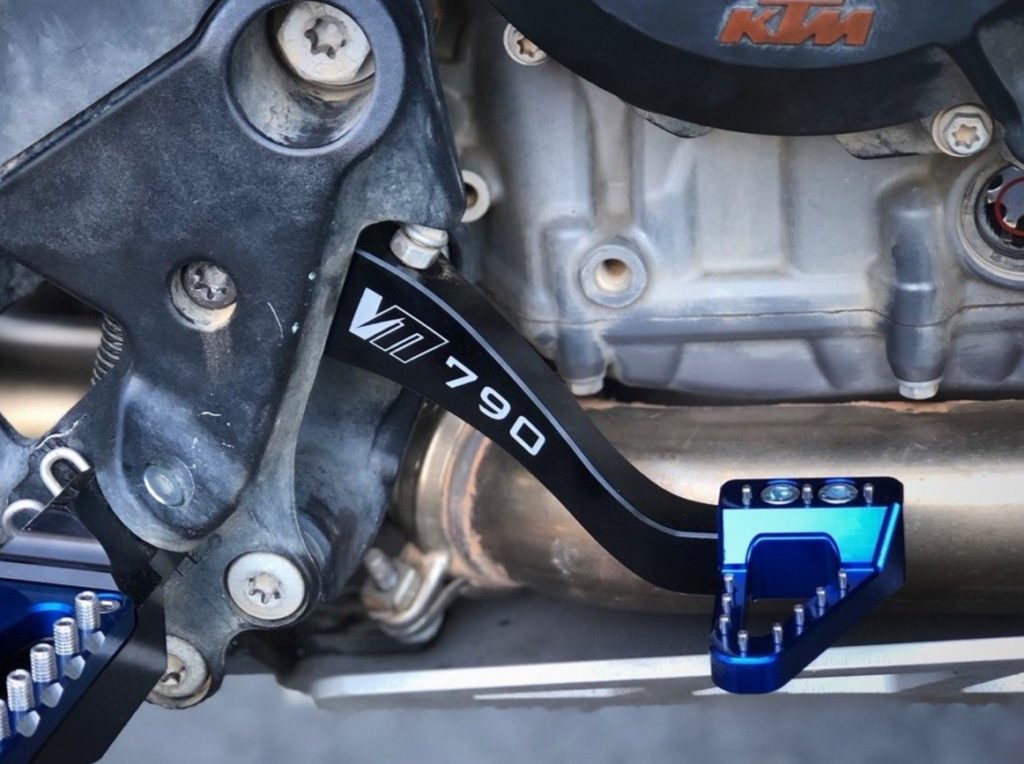
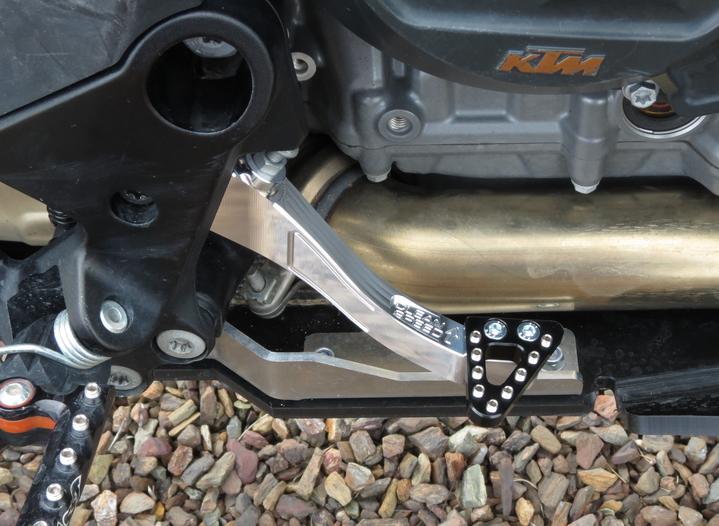
Vanasche motorsport makes a replacement for the lever and various choices of brake pedal pads to go along with it (lever €126, footpads around €30/€35 depending on style)
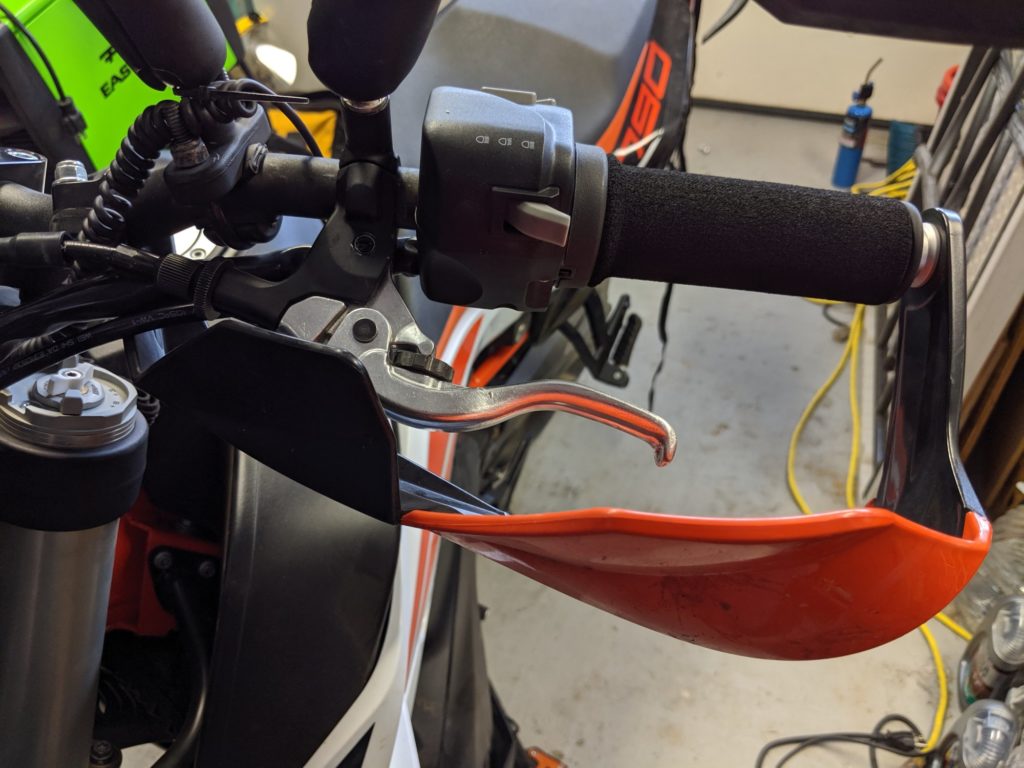
If you’re like me, brake and clutch levers are consumable. KTM clutch (p/n 63502040000, €60) and brake (p/n 63513002044, €55) levers are ok, but better controls do exists.
Some people suffered catastrophic failure of the front brake with a third party lever. Check the fitment of the rod on the lever once installed, there must be freeplay and the rod must rest in the center of the hole.
Warning when installing the levers: the pin holding them are not the same on the right and on the left. On the brake side the pin (p/n 64113006000) screws in the front master cylinder housing and is also locked with a lock nut. On the clutch side the pin (p/n 64102038000) is only retained by lock nut, it doesn’t screw into the body. And yes, the smooth top are just bit of plastic to prevent water pooling inside the hex recess, and those plastic bits are not shown in the part list (don’t lose them!).
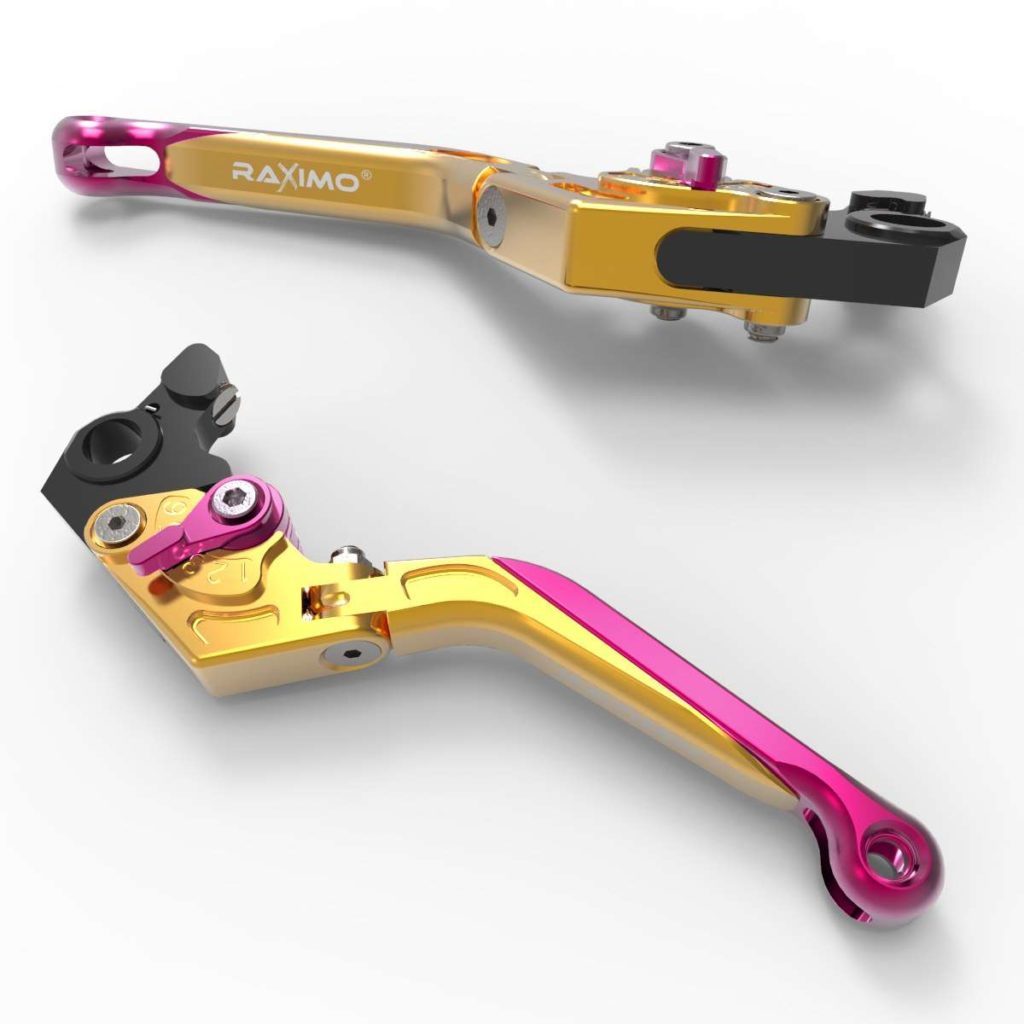
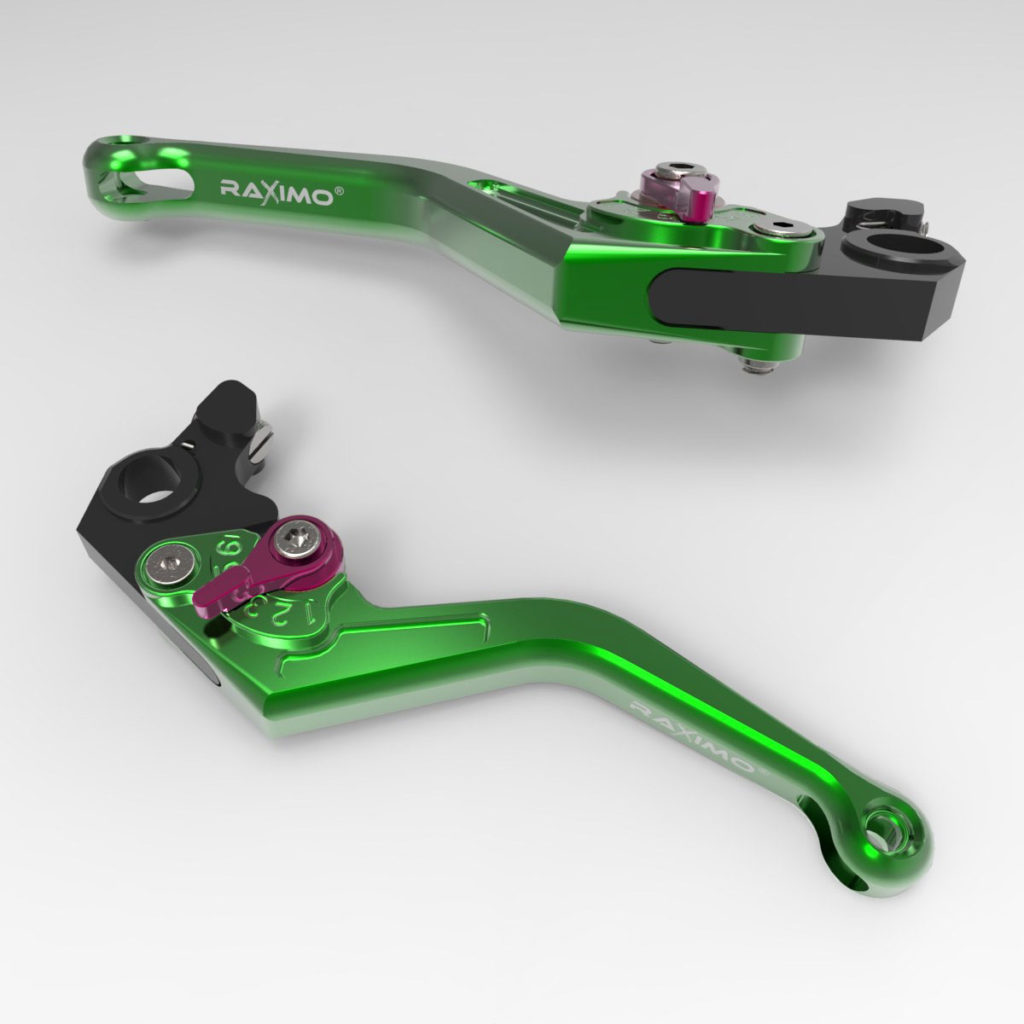
Raximo makes short (€100/pair) and long (€120/pair) replacement levers in aluminium with a large choice of colors. I’m sure you can select more tasteful colors than the ones below:
Watch out for the Chinese knock off on ebay or other. People have ordered parts and they never shipped, and some received 790 Duke parts (they are different, the Duke has a radial master cylinder).
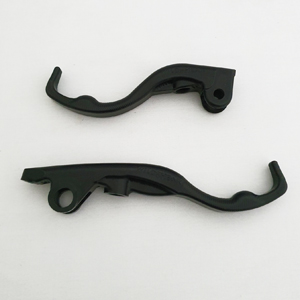
For fans of short levers the wild@heart levers have a small cult following, and are described as the best short levers ever. Molded for two fingers, with a long end stop (3000 SA rands, around 145€/$170). advrider thread.
wild@heart
Handlebar clutch switch
There are a few reports of the handlebar switch failing, and the only notice is the Quickshifter no longer working, or the bike refusing to start when a gear is engaged. The replacement switch come with a cable long enough to get into the headlight, but you could just change the switch as it cost next to nothing at your nearest electronic store. See this how-to for example.
Clutch arm
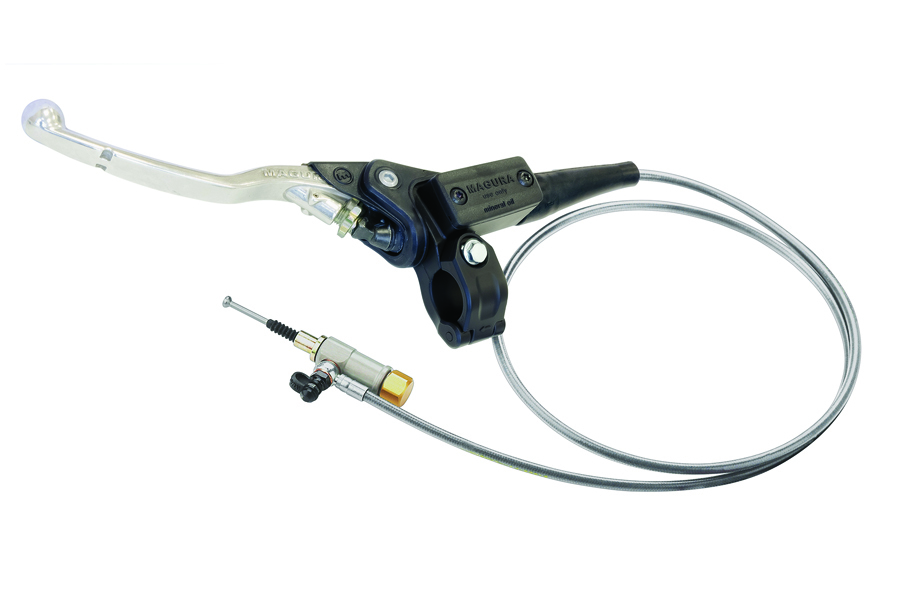
A shorter clutch lever, activated with two fingers, is harder to pull than a full sized one of course. Short or long, Camel ADV made a small little gadget making the clutch course longer and diminishing the effort at the lever. It’s called the One Finger Clutch.
Ron Palm (Advronski) made a modification to the exposed side stand switch. It prevents any damage to the switch from stranding you out in the wilderness. If you ride off road a lot, maybe something to consider.
A dongle to bypass the switch is available from Vanasche Motorsports ($90)
Another cheaper option is to carry a spare switch, they cost less than €20 (p/n 93511045000)…
[Note: A recipe for a small switch bypass to carry in the toolbox would be nice]
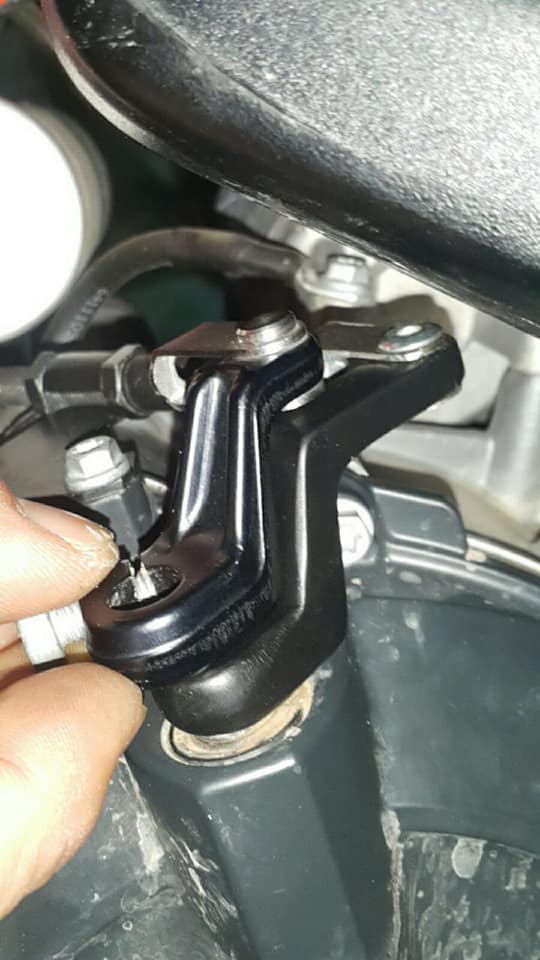
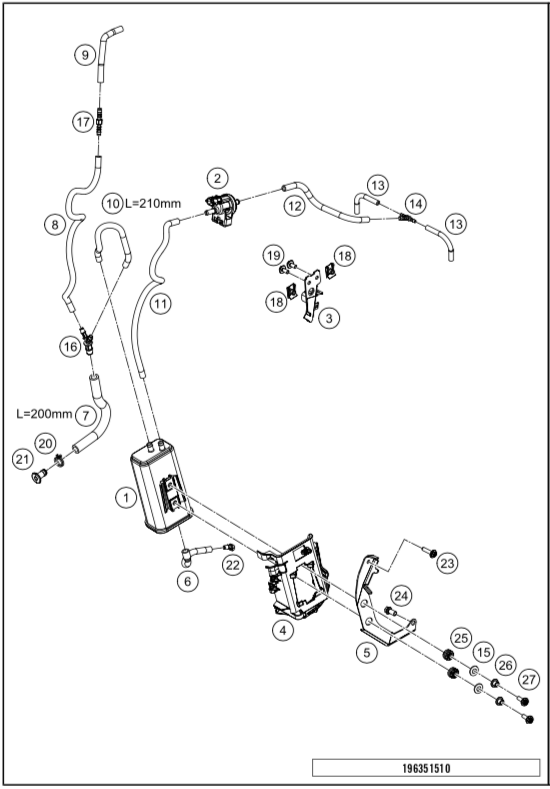
On the right side of the bike there is a little vent tube with a plastic 90º angle that clips on the right tank protection. It is labelled “Air” with a little arrow. This is the charcoal canister vent, aka it is indirectly connected to your fuel tank.
If this vent tube is not clipped in place it may touch the exhaust that goes along the bash plate (on the left on this picture) and the plastic will melt. There are cases of the melting completely closing the vent, meaning that the fuel tank is no longer vented and that pressure will raise inside. A heavily pressurised fuel tank is a huge fire risk…
Fuel venting circuit. The plastic clip is #22.
Not to mention that this vent that may leak fuel if you tank is overflowing: probably not the best item to have dangling over the really hot exhaust.
Always double check that this vent is properly clipped at the right place every time the bash plate is removed. And when you collect the bike from the dealer as the bash plate is a dealer install.
We use cookies to (1) ensure that we give you the best experience on our website and (2) to measure statistics about the site usage, anonymously. If you continue to use this site we will assume that you are happy with it.OkPrivacy policy


Recent Comments